Documentation Index
Fetch the complete documentation index at: https://specterops-bp-2211-og-specific-updates.mintlify.app/llms.txt
Use this file to discover all available pages before exploring further.
- Create a properly structured OpenGraph JSON file and upload it to BloodHound
- Define custom icons and colors for your node types to enhance visualization
- Validate the data using search and Cypher queries in the Explore page
- Remove the example data in the Administration > Database Management page when finished
Create example data
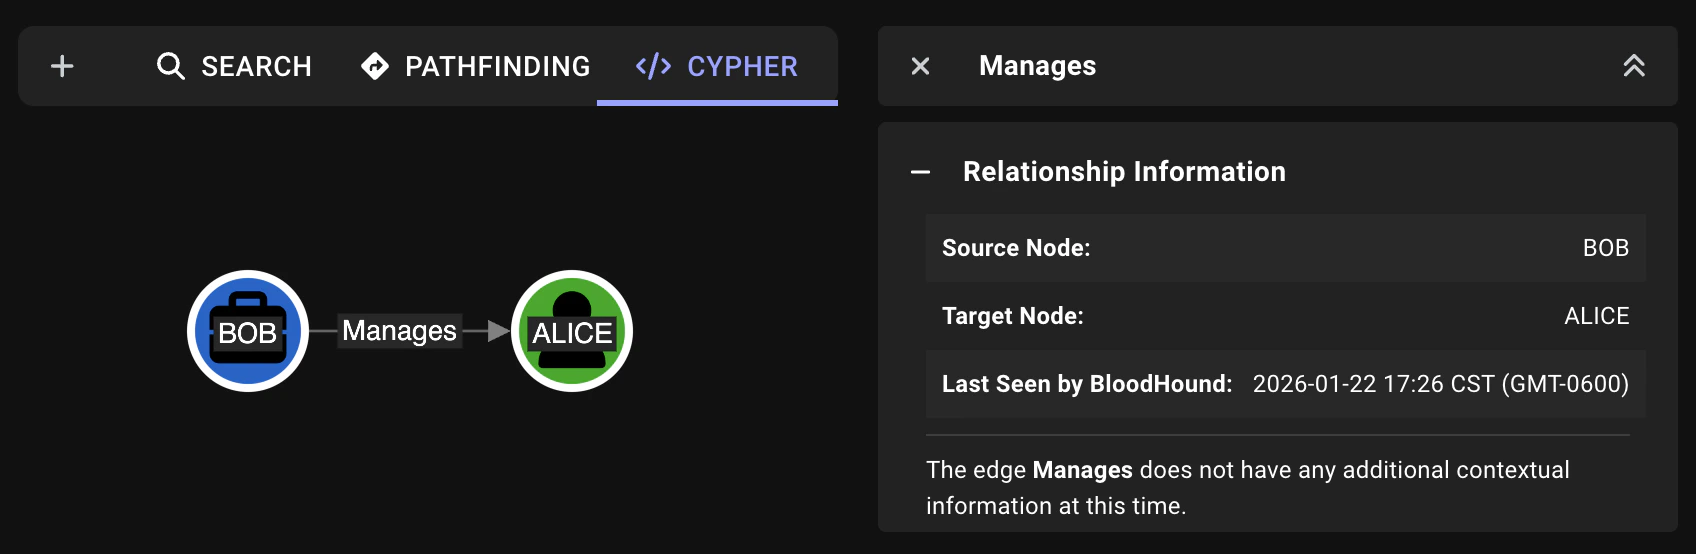
This example defines two custom (Manager for Bob and Employee for Alice) connected by a Manages to demonstrate the structure of an OpenGraph payload.
You can expand on this example to create more complex graphs with additional nodes, edges, and properties as needed.
Create a new JSON file
First, you need to define your OpenGraph payload in a JSON file.At minimum, every OpenGraph payload must follow this basic structure:
See the OpenGraph schema for required fields and the full structure.
-
Create a new file called
opengraph-example.jsonusing a plain text editor (UTF-8 encoding). -
Copy and paste the following example, which includes two nodes (
bobas aManagerandaliceas anEmployee) connected by aManagesedge.The following table describes the structure and properties of the example JSON file:Section Property Description metadata source_kindOptional data source identifier for grouping and managing nodes (e.g., “EXBase”) graph.nodes idUnique identifier for the node kindsArray of node types; the first determines the node’s icon and display propertiesObject containing node properties (e.g., name,displayname,objectid, and custom properties)graph.edges kindThe edge type name (e.g., “Manages”) startSource node reference; can match a node in this payload or any pre-existing node endTarget node reference; can match a node in this payload or any pre-existing node About source kinds and node types:-
The
source_kindvalue automatically applies to all nodes in the payload, enabling grouped management and bulk deletion in Database Management. Alternatively, you can addsource_kindto individual nodes if you don’t declare it in metadata. -
Each node must have at least one
kind. The firstkindis the Primary Kind that determines which node type it is and which icon and color represents it. - Edges can reference nodes from different payloads. You can create all your nodes first, then create edges between them in a separate payload.
-
The
Save the file
Save the
opengraph-example.json file to a location you can easily access for uploading in the next step.Upload the JSON file
Use the BloodHound web interface to upload the
opengraph-example.json file directly through the browser.- Log in to your BloodHound instance.
- In the left menu, click Quick Upload.
-
Click the Upload Files screen to open a file system dialog or drag and drop the
opengraph-example.jsonfile. - Click Upload and wait for the upload to complete. You should see a confirmation message indicating the file was successfully ingested.
Customize nodes
To enhance the visualization of the node types on the graph and in the Entity panel, you can define custom icons and colors.This is done separately from the OpenGraph data payload and must be uploaded through the BloodHound API. Stay tuned for a more streamlined process for managing icons and colors!
Prepare your custom type definition
This example creates custom definitions for the The following table describes the properties in the custom type definition:
Manager and Employee node types defined in the example JSON file. It specifies that Manager nodes should display with a briefcase icon in blue, and Employee nodes should display with a user icon in green.The custom type definition is a JSON object with the following structure:| Property | Description |
|---|---|
custom_types | Object containing custom type definitions, where each key is a node type and the value defines the visualization properties for that type |
icon.type | Font Awesome is the icon library used for custom icons |
icon.name | Font Awesome icon name (without “fa-” prefix) |
icon.color | Hex color code in #RGB or #RRGGBB format (the # is required) |
Run a POST request
Use a After running this request, any nodes of type
POST request to the BloodHound API to upload your custom type definitions.Here’s an example request body for the Manager and Employee node types:Manager or Employee in your graph display with the specified icons and colors. You can modify these custom type definitions as needed with a PUT request with updated properties.Validate example data
After uploading the OpenGraph example data and custom node icons/colors, it’s important to validate that BloodHound ingested everything correctly and displays it as expected.Search for nodes and edges
Use the Search features to find the example nodes and edges, and verify that properties and custom icons/colors are displayed correctly.
- Search
- Cypher
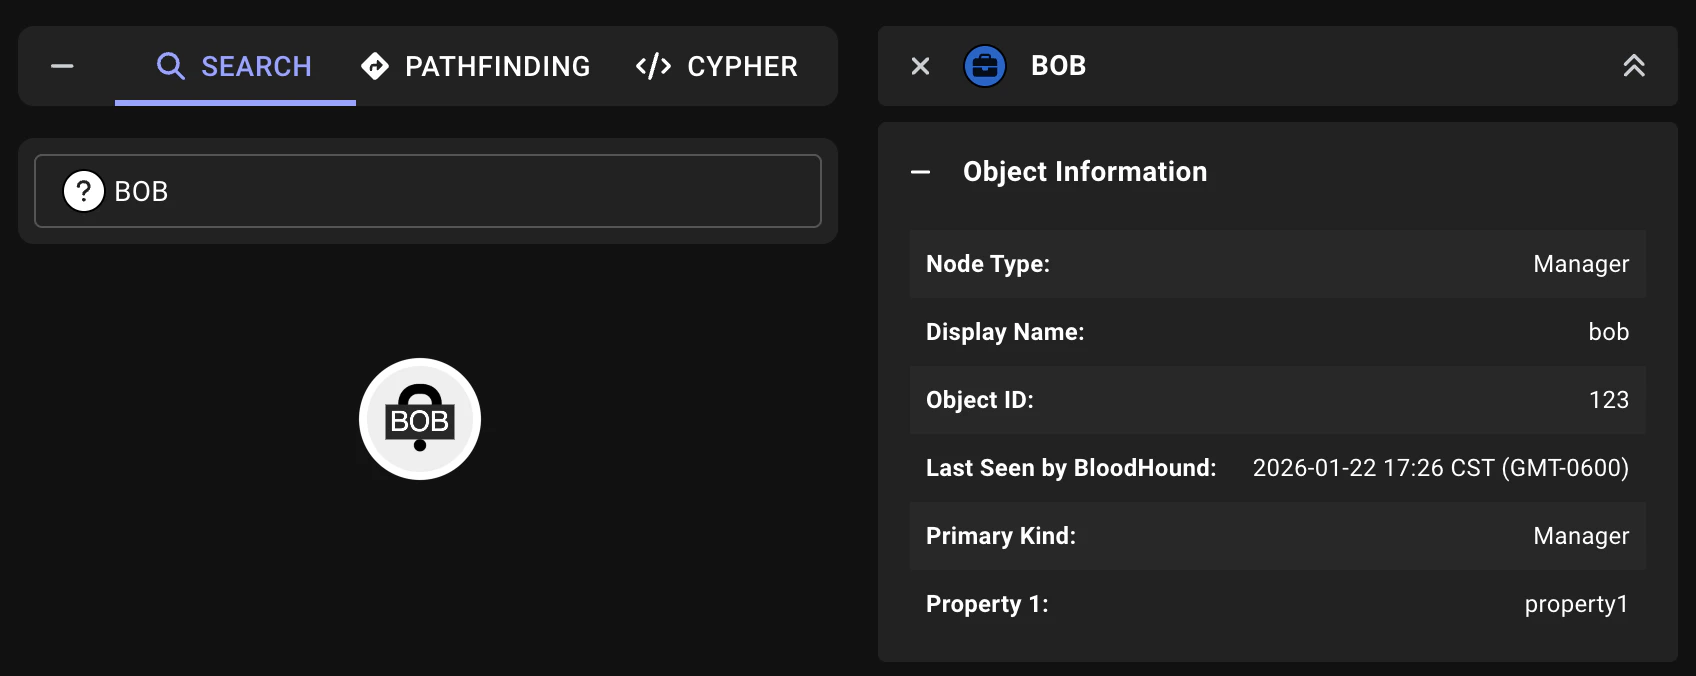
To find nodes by display name or object ID:
- Click the Search tab.
-
In the search field, enter
boboralice. - Select the node from the suggested search results.
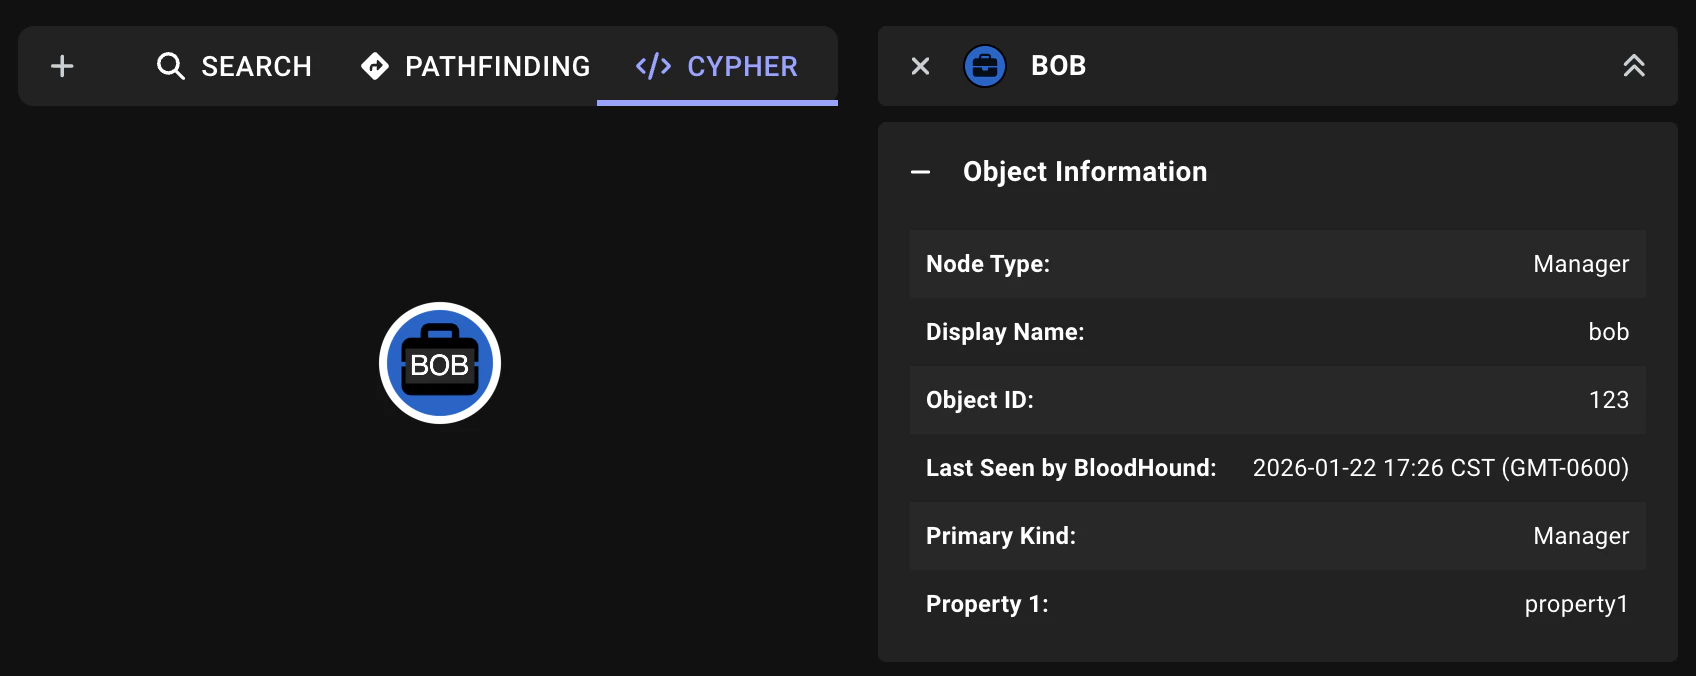
-
Click the node on the graph to view its properties in the Entity panel.
Expected results:
-
Suggested search results include the Bob (
Manager) and Alice (Employee) nodes - Node properties and custom icons/colors display in the Entity panel after clicking a node on the graph
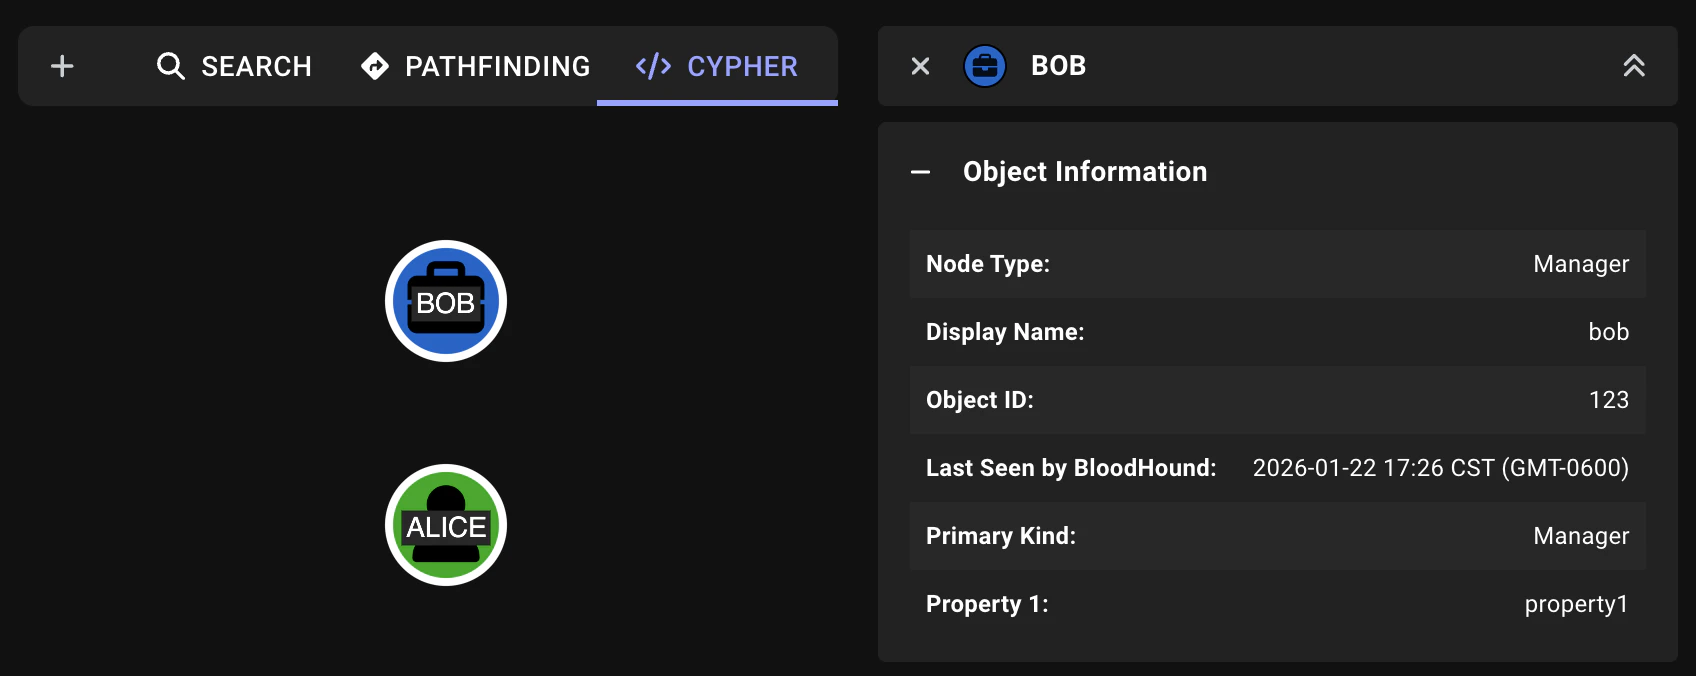
-
Custom node icons and colors display on the graph (blue briefcase for Manager, green user for Employee)
Custom icons/colors render on the graph for Cypher search only.
-
Suggested search results include the Bob (
Delete example data
After you’ve finished testing, you should clean up your example data by deleting the example OpenGraph payload.Delete example data
Use the BloodHound web interface to delete nodes by
source_kind.- Log in to your BloodHound instance.
- In the left menu, click Administration > Database Management.
- Under All graph data, check the EXBase data checkbox.
The name of the checkbox is based on the value of the
source_kind property in the metadata section of the example JSON file.- Click Delete and confirm the deletion.
Verify deletion
Run the following Cypher query to confirm the example OpenGraph data is gone:You should see a
No results match your criteria message confirming that all nodes from the EXBase source have been deleted.The Cypher query results may be cached. If you don’t see the expected results immediately, try refreshing the Cypher page to clear the cache and confirm the deletion.
Troubleshooting
This section provides solutions to common issues you may encounter when testing your OpenGraph data.Upload fails
Upload fails
- Validate your JSON using JSONLint
- Ensure all required sections are present
- Verify that node IDs within the current payload are unique
- Check that node IDs referenced in edges match nodes either in the current payload or from pre-existing data
Nodes don't appear in search
Nodes don't appear in search
- Ensure you correctly used the node name or object ID values in search
- Verify the upload completed successfully without errors
- Check the file ingest logs for errors (restricted based on user role)
Custom icons not displaying
Custom icons not displaying
- Verify the icon name is correct and does not include a prefix, such as
fa-(see FontAwesome to confirm available icons) - Ensure the color is in valid HEX format (#RGB or #RRGGBB) and includes the
#symbol - Run a
GETrequest toapi/v2/graphs/custom_nodesto confirm your BloodHound instance contains the custom type definition you want to use
Edge not found in Cypher query
Edge not found in Cypher query
- Verify the edge
kindname is spelled correctly and matches your JSON file - Ensure the
idvalues in thestartandendreferences match your nodeidvalues exactly (labeled as Object ID in the Entity panel on the graph, but referenced asidin the payload) - Check that both referenced nodes were created successfully
Next steps
After you’re comfortable with this process, consider:- Creating more complex node types with additional properties
- Testing multiple edge types between different node kinds
- Reading the OpenGraph Schema documentation for advanced configurations
- Reviewing OpenGraph Best Practices before deploying production data